How to use a brand board to create custom graphics on Canva
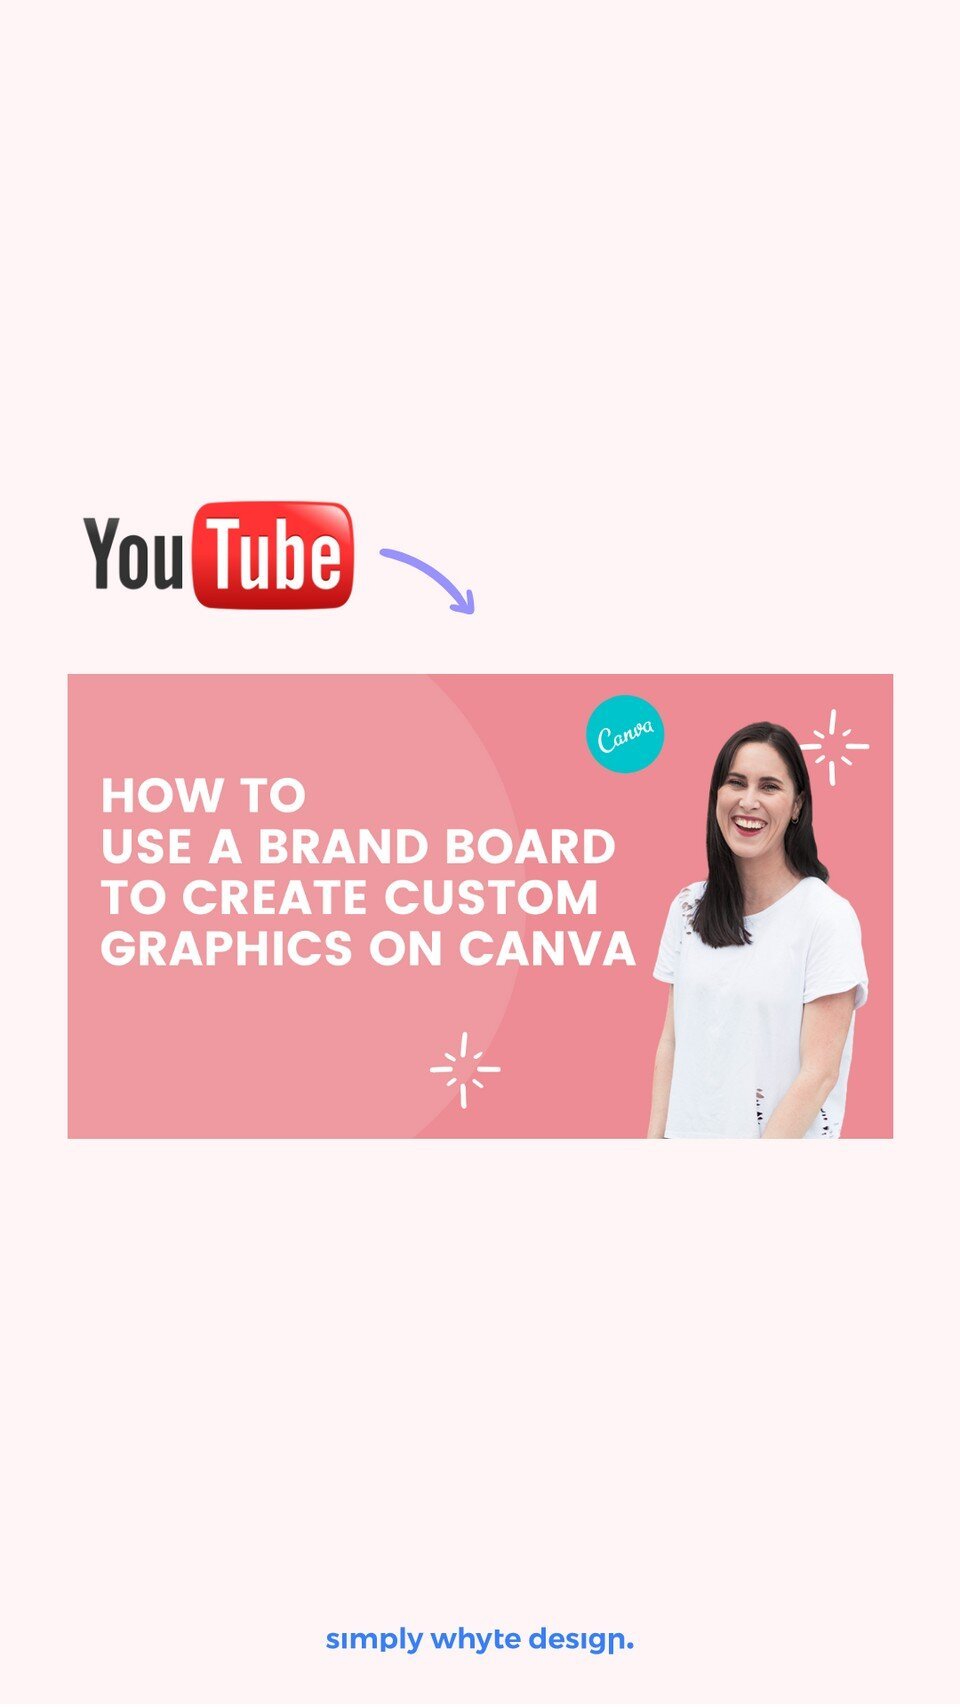
In today's video tutorial I’m going to take you through how you can use your brand board and logo files on Canva to create your own custom graphics.
This tutorial is perfect if you already have a logo and want to do a bit of DIY design with Canva or if you are a designer you can share this video with your own clients to help them.
The reason why I wanted to create this video is so that you can learn all about brand boards, logo files, and using them all together in Canva.
Resources Links
All my discounts and resources - https://www.simplywhytedesign.co.nz/resources
Sign up for a free trial of Canva HERE
What is Canva?
If you're not familiar with Canva, Canva is a great online tool where you can do a bit of DIY design.
Now I don’t think that Canva can ever replace a designer but it’s a great tool for designers and clients to come together. Designers can create the design and templates, then clients can update them and carry on with a bit of DIY design without ruining the brand. (That’s as long as you stick to guidelines)
With the paid version of Canva there is a whole area where you can take all your brand board details and permanently upload them into Canva. This means every time you create something the settings are already done.
You can almost achieve the same thing with the free version but it’s just a little more manual but if you have a brand board handy and your logo files ready then that’s all you need.
What is a brand board?
A brand board is a quick one-page PDF that gives you an overview of a brand. They can be shared with third-party providers so that they can see what your brand should look like and you can use them to make sure anything you create is consistent with your brand.
They are usually made up of the following things;
Main Logo
This is the primary logo of a business. It’s probably the brand element that you’ll use the most. All of the other elements are created based on the logo, so it’s the most important part of brand design.
Alternative Logos
The alternative logo is simply a shorter version of your main logo. Alternative logos are the variations of your main logo and it can be for example logo without the tagline, a stacked version, icon, badge and so on. These are created because you need a different version to fit in different situations.
Submarks
Submarks are usually a symbol or illustration that represents your brand. Submarks can be used in situations where your main logo might not fit for example a website browser icon.
Colour Palette
Colour palette is a set of colours that represent your brand & business. The colours are usually picked out based on inspirational images and target audience.
Font Combinations
Font combination usually features two-three fonts – The main font, a secondary font, and an accent font or font for headers/brand collaterals.
Design Elements
Design elements can be simple icons/illustrations, call-to-action-buttons, patterns, or anything that can creatively support your brand.
Step 1 Have your files ready
It’s so important to have your files stored in something like Dropbox or Google drive for safekeeping but also so you can access them really easily.
Open up the file where your brand board and logo files are and keep it to one side as we are going to use it later.
Step 2 Open up Canva & Create a new document
When you log in to Canva you will see that it has loads of premade sizes so let’s do an example and create an Instagram post.
Select from the drop-down menu the Instagram size.
Step 3 Upload all your elements
Bring over your brand board and logo files and upload all the brand elements you are going to use. ie logo files, textures, patterns, imagery.
Open up your brand board so you can refer to it while you are creating.
Step 4 Create your new graphic
Now we can start to create your new graphic. I recommend either creating from scratch or using one of the templates and modifying it a lot and I mean a lot. The reason for this is a lot of people use Canva and you don’t want to see something you created to look the same as someone else just because you have used a template and not changed it enough.
Step 4 Use your brand board
To get the colours go to your Brand Board and copy one hex codes. This will store your brand colours ready to use for your design.
Hex codes look like this #d1e7f5 and are just a number that identifies a colour in computer language. Canva will also pick colours from any images that you put into it.
Step 5 Download & Save your design
And then you are ready to rock and roll. If you have any questions please put them in the comments section in the video and I will reply to them all.
Tips
Don’t go too crazy with Canva if you are doing DIY design, try and stick to what is on your brand board so you can keep your brand looking sleek and consistent.
So now you are ready to rock and roll and have created your own graphics with your brand board and logo files in Canva.
If you have any questions please put them in the comments section in the video and I will reply to them all.
Let’s work together
Got an amazing business idea you need help bringing to life? Time to refresh your existing brand? Ready to get serious and connect with your customers with a stunning Squarespace site?


